Wall murals are one of the cheapest forms of advertising for business owners who do not have the budget to put up expensive signage.
While expensive signage has its own advantages such as illumination at night, height advantage as well as the ability to adjust the size of your sign; wall murals provide a cheaper alternative for your business.
Wall mural art is an ancient form of advertising and communication which can be traced back to the olden days where primitive men inscribed and painted on stones as well as the inside of caves. It was also used for story telling where images and letters were inscribed on surfaces using different objects. These images and inscriptions told a story about a people’s cultural heritage and ancient history. Today, wall murals has become a tool for advertising, branding, marketing and aesthetics for homes, businesses and crèches among others. It is also one of the cheapest forms of branding, marketing and advertising especially for small businesses.
In this article, we would like to share the 7 steps to doing your own free-hand wall mural branding for your business. This is applicable if you do not have the resources for your own stencils.
Step 1
Identification of wall area(s) suitable for your wall mural art.
Before embarking on the project, it is necessary to inspect your walls to enable you identify the suitable wall space(s) for your wall mural advertising. Important things to consider include the positioning of the wall(s); positioning of your wall – is your wall situated near a major busy road? Are there potential obstructions? Is the wall smooth and free of any installations like building structures that are likely to obstruct the view?
Step 2
Deciding on the theme or artwork
For business owners, deciding the theme for your wall mural project is very important and should detail what you want to showcase to your potential customers. Possible things to consider include what text you want to showcase. For instance do you want to profile your logo or your logo and phone number among other things?
For interior wall murals, you need to also decide on the theme and ensure that the colour of your art complements the furniture inside your space.
Step 3
Identification of your colour schemes
Here you need to decide which colour scheme you need for your project. Understanding the colours that you need will help you procure exactly the right combination of colours for your project. Also you need to know how to mix colours to ensure you get the right colour mix.
Step 4
Markings and measurements
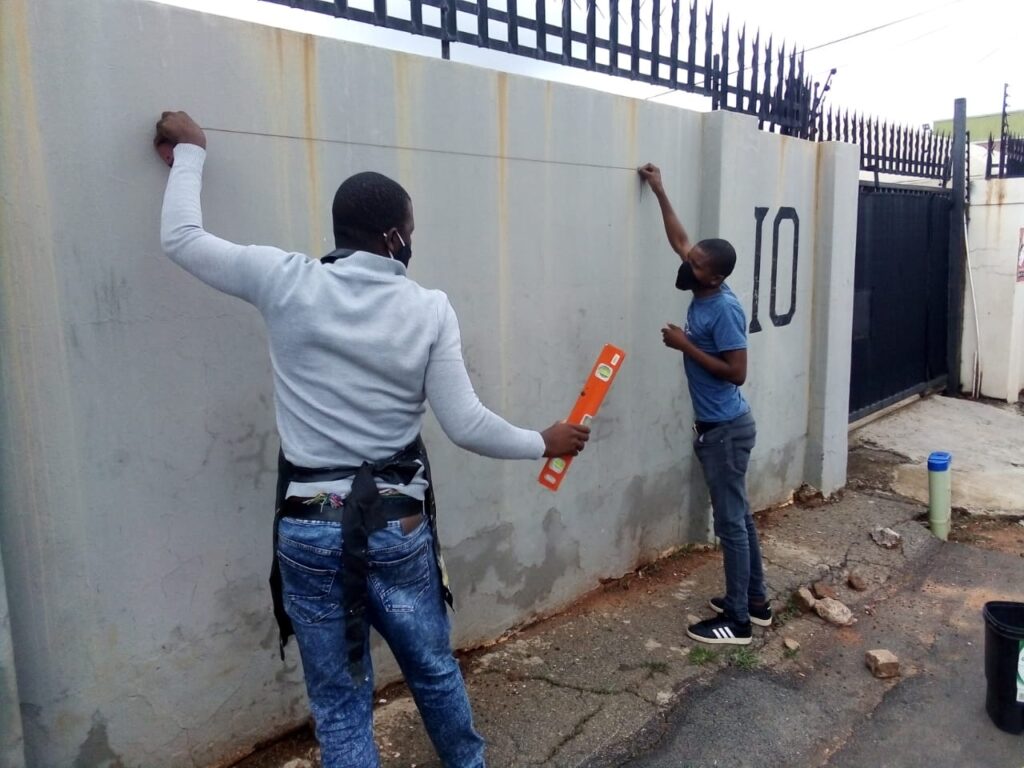
After successfully identifying the right walls, text or image as well as the colours; the next stage is to do the markings and measurements on the wall. This requires the use of a measuring tape, pencil or marker as well as an additional person to support you.
The first step is to study your image carefully from the source to enable you determine how big or small you need the image to be. After deciding, take the tape measure, a marking string or pencil as well as a leveler and do your markings (ideally using a pencil) as shown on the image below.
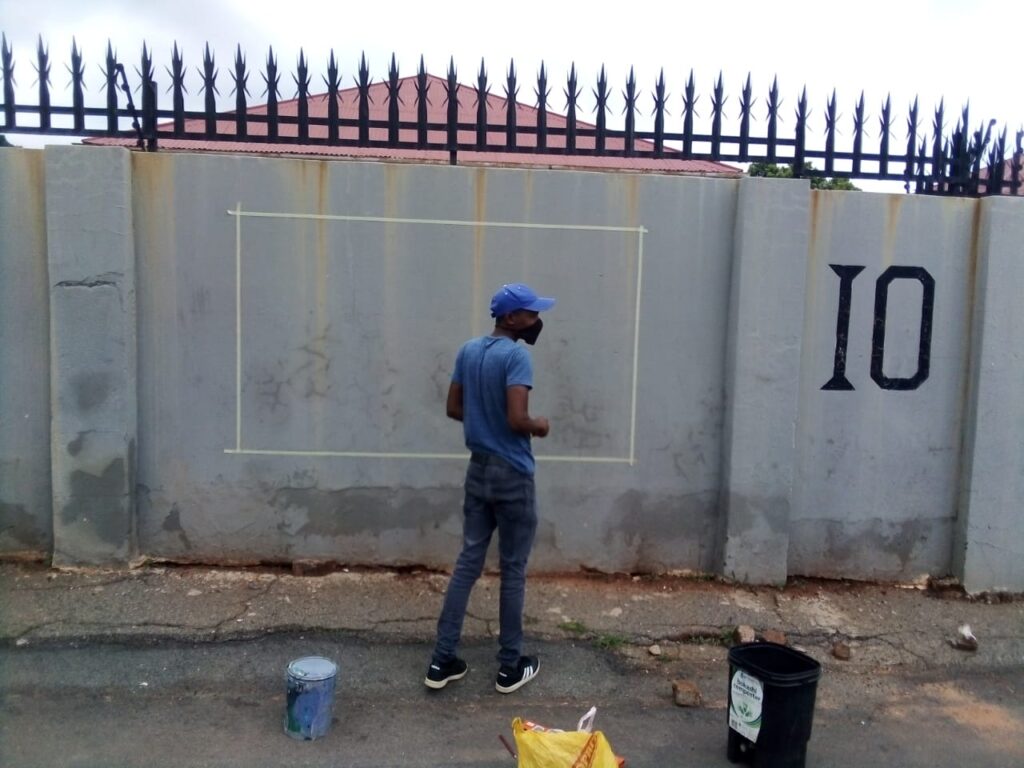
After the markings, use a masking tape to do the outline so that you can have a clear picture of your work area. This will enable you determine if there are equal spaces on the left and right sides as well as the appropriate height for your wall art.
Step 5
Priming stage
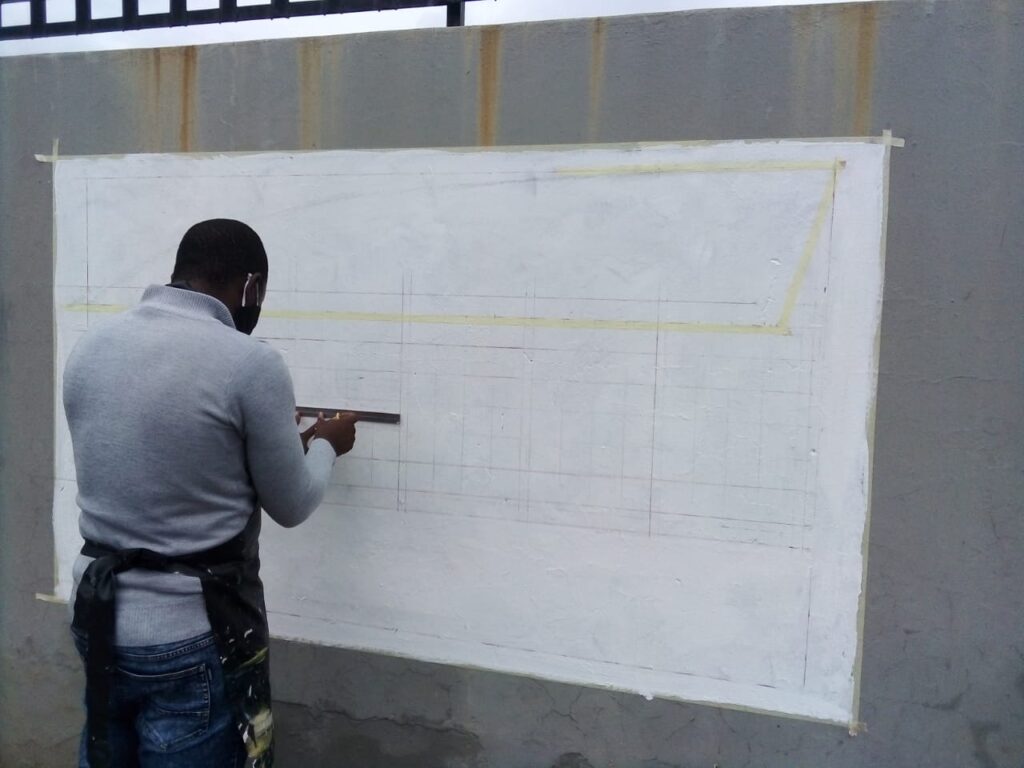
The next stage of the process is the priming stage. Here you are required to use a good quality white primer to paint the marked area for your wall mural. Ensure that the area is properly painted and wait for a while to allow the white primer to dry first before you start the next stage. You can find a good quality primer at any paint shop close to you.
Step 6
Free hand marking
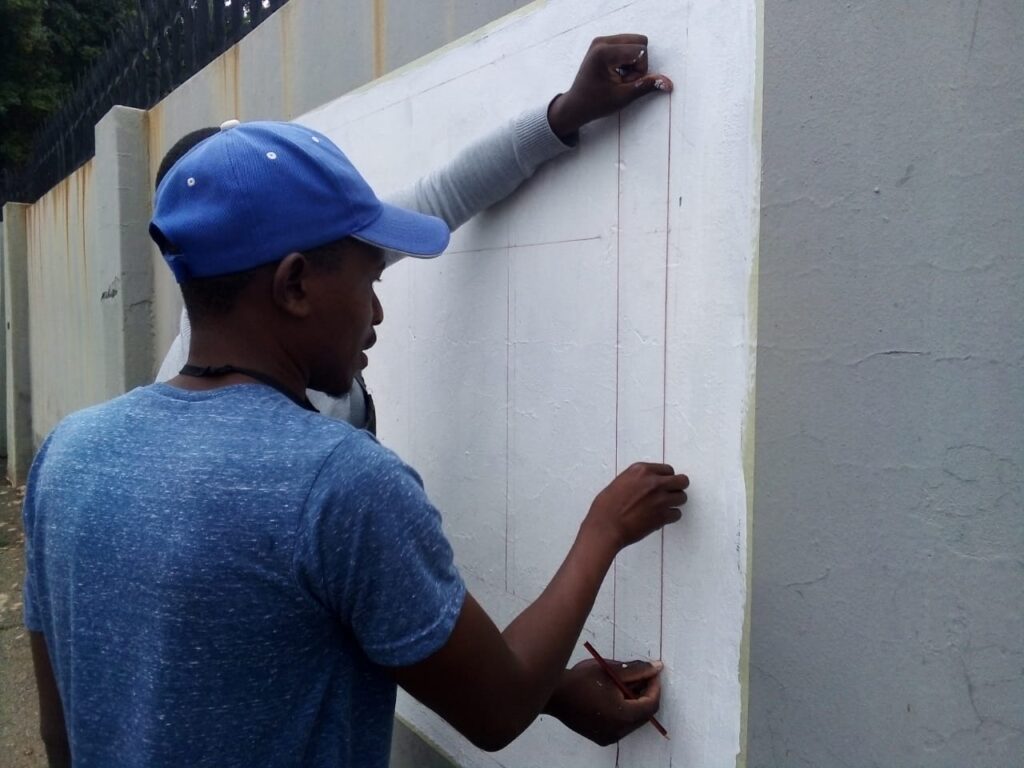
After priming, the next stage is to do the second round of markings using free-hand. Here you need to determine where each letter and artwork would be. It is a rather pain-staking but rewarding process as once you are able to accomplish this task, the rest of the work will become easy to finish.
This process, involves measuring and sketching of the outlines of your image. If done correctly, you will have an idea of how your finished work will look like.
Step 7
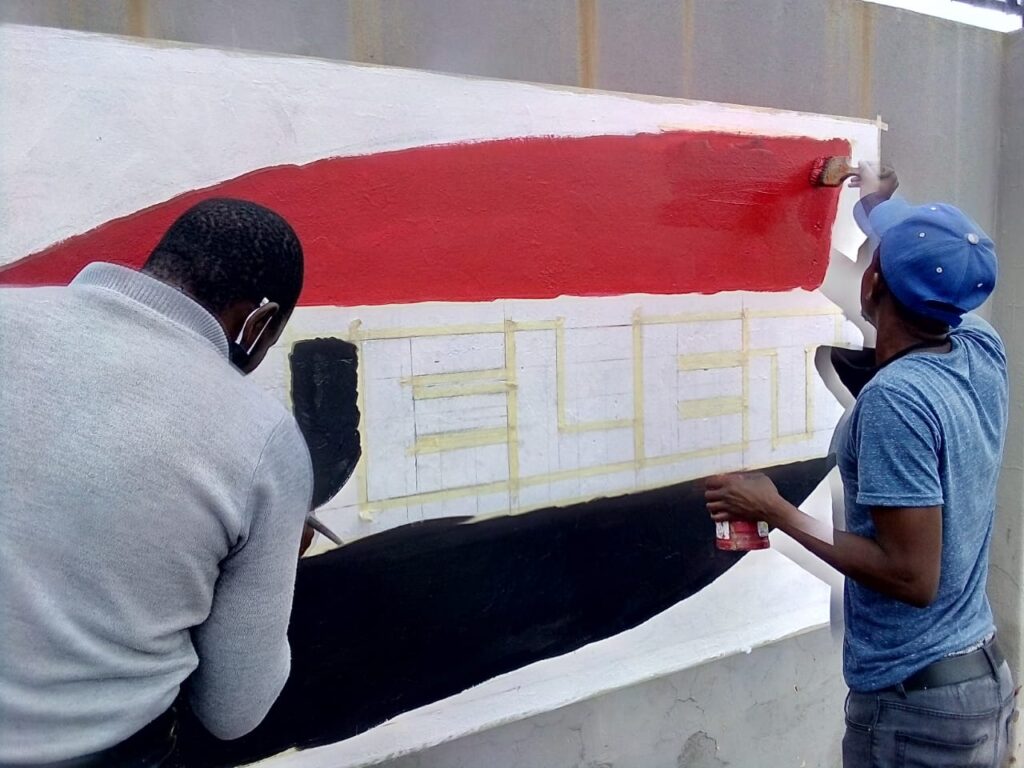
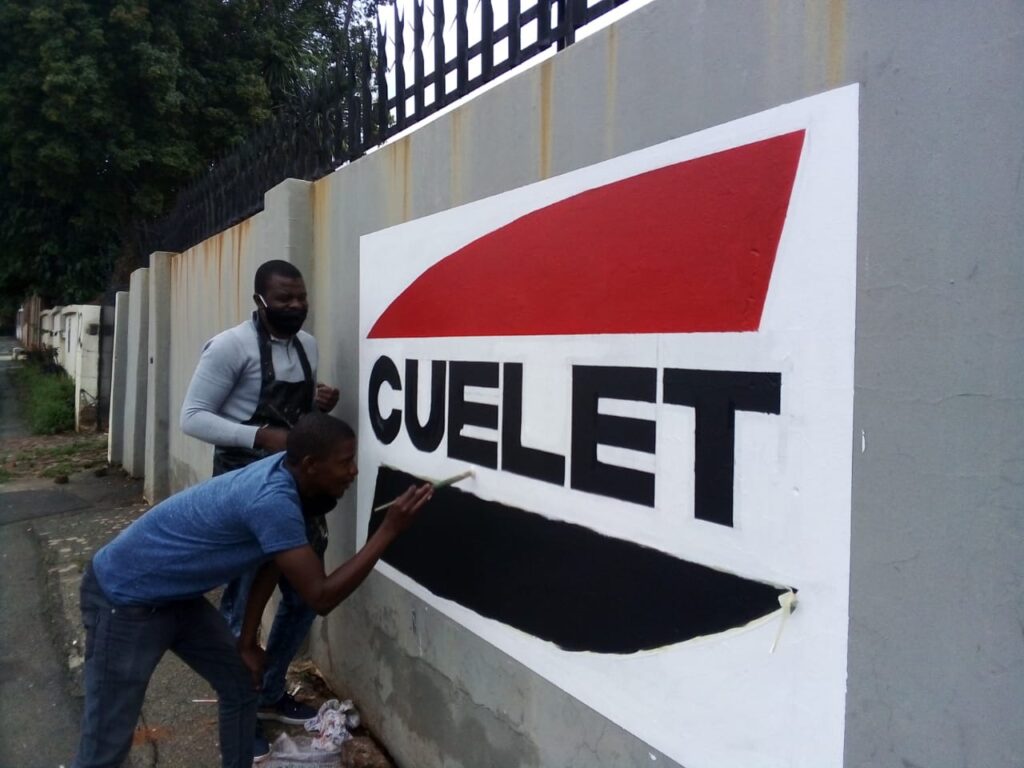
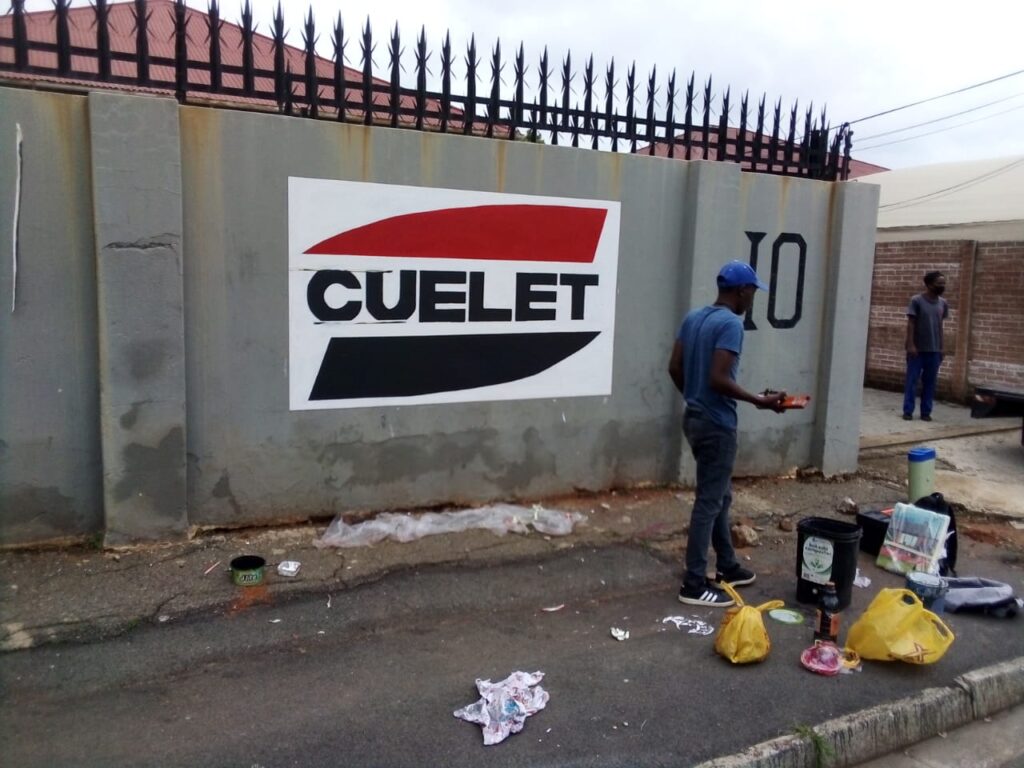
Painting
Following a successful marking and sketching process, we now go into the actual painting which shouldn’t take time. At this stage we know the areas to paint as well as the colours required according to our reference.
You will notice that at this stage, the work is easier and less complicated as you are simply following the guidelines from your markings.